黑白滤镜
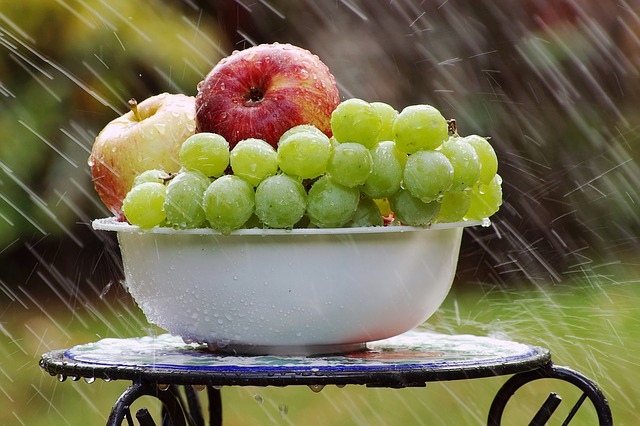
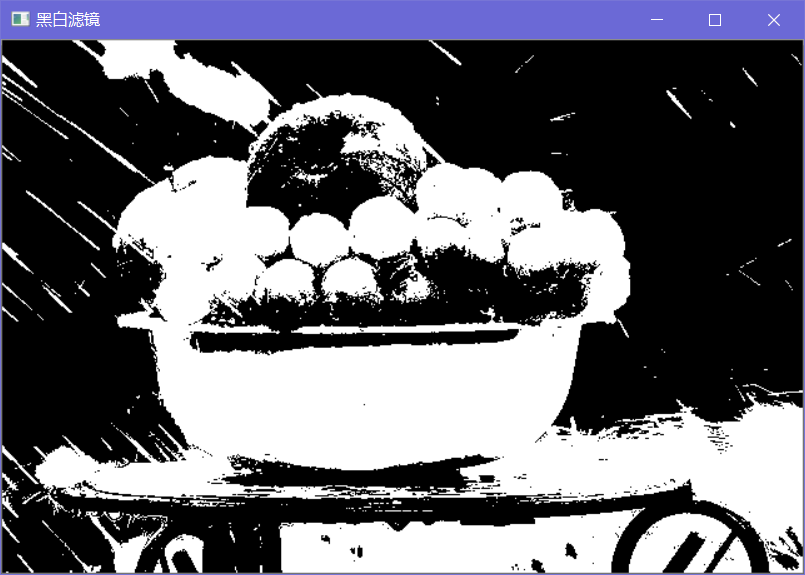
黑白滤镜非常简单,顾名思义就是图像只有黑色与白色,这实际上就是图像的二值化。实现的原理也非常地简单,设定一个阈值,假设为128,判断每个像素点的灰度值,大于128设为255(对应白色),小于则设为0(对应黑色)。
代码实现
 1
 2
 3
 4
 5
 6
 7
 8
 9
10
11
12
13
14
15
16
17
18
19
20
21
22
23
24
25
26
27
28
29
30
|
// black and white filter
//@mango

#include<iostream>
#include<opencv2/opencv.hpp>

int main()
{
	// 以灰度图的方式读取图像
	cv::Mat img = cv::imread("fruit.jpg", 0);

	for (size_t i = 0; i < img.rows; i++)
	{
		for (size_t j = 0; j < img.cols; j++)
		{
			if (img.at<uchar>(i, j) > 128)
			{
				img.at<uchar>(i, j) = 255;
			}
			else
			{
				img.at<uchar>(i, j) = 0;
			}
		}
	}

	cv::imshow("黑白滤镜", img);
	cv::waitKey(0);
	return 0;
}
|
opencv函数实现
上述代码把简单的二值化原理实现了一边,opencv中已经有函数实现了这个功能。该函数的原型为:
1
2
3
4
5
6
|
double cv::threshold ( InputArray  src, //输入图像
  OutputArray  dst, //输出图像,即阈值操作处理后的图像,为只有黑白的二值图
  double  thresh, //阈值,阈值操作的判断条件
  double  maxval, //最大值,设定输出图像灰度的最大值
  int  type  //阈值操作的方式类型
 )
|
所以,二值化实现黑白滤镜的代码可以修改为
 1
 2
 3
 4
 5
 6
 7
 8
 9
10
11
12
13
14
15
16
17
18
19
|
// black and white filter
//@mango

#include<iostream>
#include<opencv2/opencv.hpp>

int main()
{
   // 以灰度图的方式读取图像
   cv::Mat img = cv::imread("fruit.jpg", 0);

   cv::Mat black_and_white;
   // 调用opencv函数
   cv::threshold(img, black_and_white, 128, 255);

   cv::imshow("黑白滤镜", black_and_white);
   cv::waitKey(0);
   return 0;
}
|
本文由芒果浩明发布,转载请注明来源。
本文链接:https://blog.mangoeffect.net/opencv/create-black-and-white-filter-by-binarization.html